
Crochet Sun Plushie – Free Tutorial + PDF Pattern
Jan 03, 2026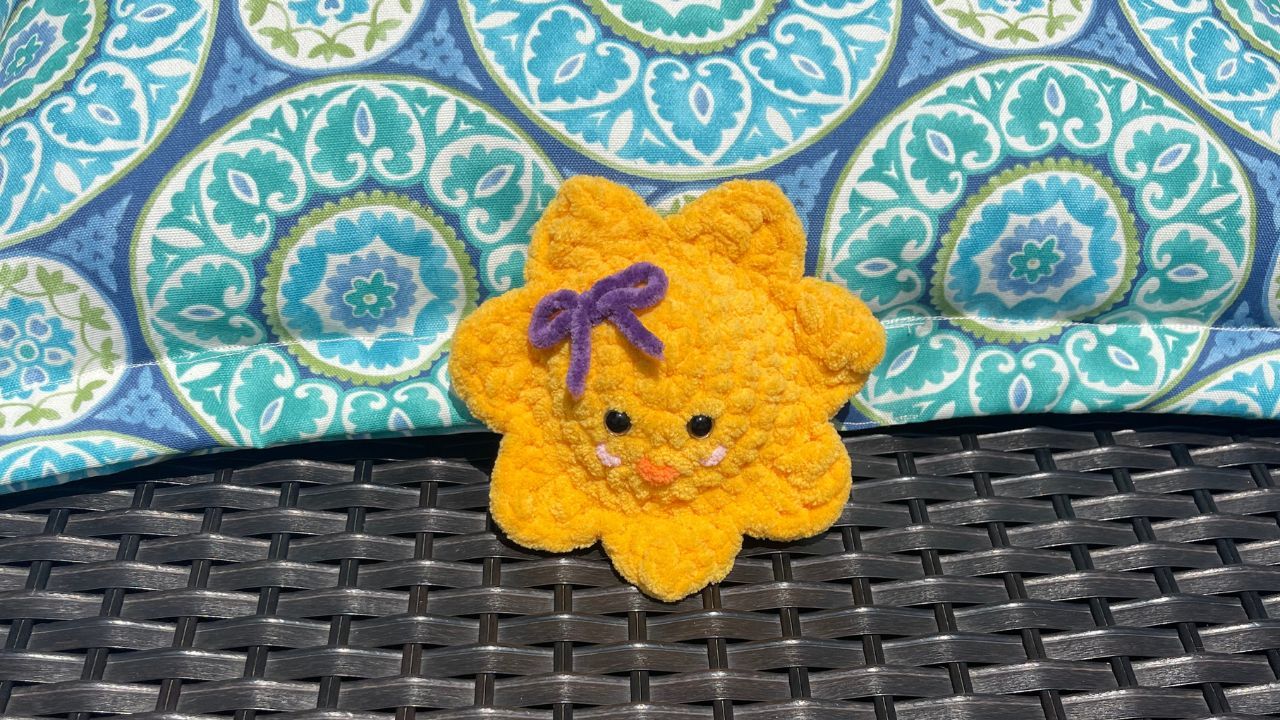
☀️ Crochet Sun Plushie – Free Tutorial + PDF Pattern
Bring a little sunshine into your day with this crochet sun plushie! This cheerful, squishy project is perfect for brightening up your home décor, gifting to little ones, or adding to a collection of fun handmade plushies. With its simple construction and soft, huggable design, it’s a beginner-friendly crochet pattern that radiates happiness.
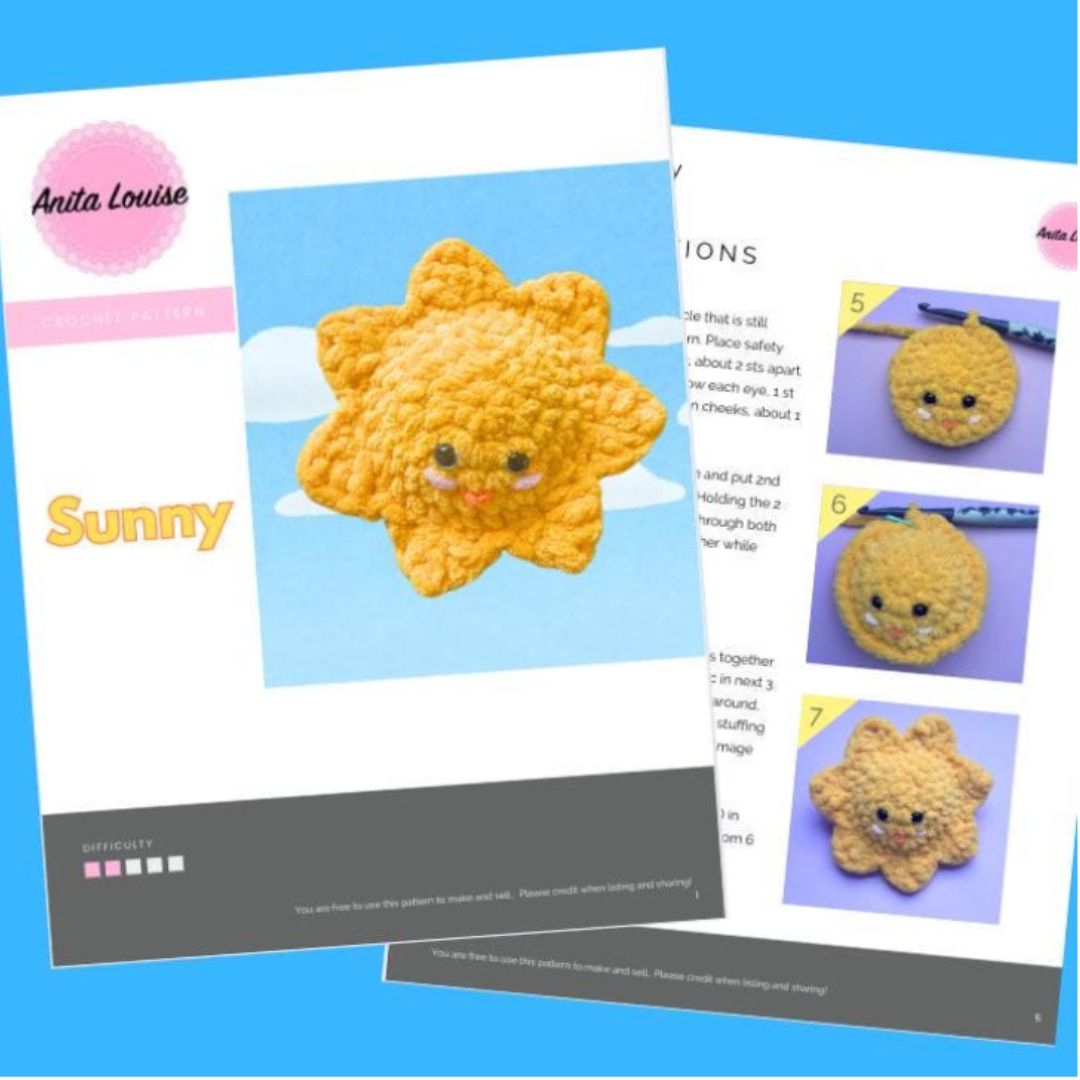
The printable PDF pattern is available in my Etsy shop, and you can also follow along with the step-by-step video tutorial on my YouTube channel for extra guidance.
✨ Why You’ll Love This Crochet Sun Plushie
-
Perfect as a gift for kids or a cheerful home décor accent
-
Beginner-friendly pattern with clear instructions
-
Works up quickly using simple stitches
-
Brings sunshine and smiles all year round
🧶 Crochet Sun Plushie Pattern Details
Materials Needed:
-
#6 Bulky blanket yarn in yellow (plus other colors for cheeks and mouth)
-
6.0 mm / J crochet hook
-
Fiberfill stuffing
-
Yarn needle
-
Scissors
- 10 mm safety eyes
- Stitch Marker
Instructions:
Note: The front and back circles are worked in continuous spirals. Because of this, it is very helpful to have a stitch marker to mark the first stitch of each round so that you don’t have to count the whole time!
With Yellow
Round 1: Ch2. 7 sc in 2nd ch from the hook (Image 1). (7)
Round 2: (Sc inc) in each stitch. (14)
Round 3: *Sc in the next st, (sc inc) in the next st. Repeat from * around. (21)
Round 4: * Sc, sc, (sc inc) in the next st. Repeat from * around. Sl st into next stitch. Cut yarn and finish off. (29)
Repeat to make another circle but do not cut the yarn and finish off!
Add face details to the circle that is still attached to the working yarn. Place safety eyes between rows 2 and 3, about 2 sts apart. Place cheeks about 1 st below each eye, 1 st across. Place mouth between cheeks, about 1 or 2 sts across.
Turn first circle right side down and put 2nd circle on top, with the face up. Holding the 2 circles together, you will work through both layers to sew the 2 circles together while working the border.
Border:
Round 1: Ch 1. Holding the 2 circles together and working through both layers,* sc in next 3 sts, (sc inc) in next st. Repeat from * around, stopping about halfway to add some stuffing, then continuing around. Sl to first st (Image 6). (35)
Round 2: * Skip the next st, (2dc, tr, 2dc) in next st, skip next st, sl st, sl st. Repeat from 6 more times. Sl st to top of first sc. Finish off.
💡 Creative Ideas for Your Sun Plushie
-
🌞 Nursery Décor: Add a happy sun to a baby’s room or play area.
-
🎁 Gift Idea: Perfect handmade gift for kids, birthdays, or baby showers.
-
🏡 Home Accent: Place on shelves, beds, or couches for a cheerful pop of color.
-
🌈 Set Collection: Make with other themed plushies like clouds, rainbows, or stars for a complete weather-inspired set.
📄 Get the Pattern + Tutorial
-
PDF Pattern: Available in my Etsy shop for ad-free, printable instructions.
-
Video Tutorial: Full step-by-step guide on my YouTube channel.
Right Handed Video Tutorial:
Left Handed Video Tutorial:
🌟 More Crochet Plushie Patterns
If you loved this rainbow, you might also enjoy:
Final Thoughts
This crochet sun plushie is a simple, joyful project that will warm up any space or gift. Whether you make one to brighten a room or a bunch to share with friends, it’s guaranteed to spread sunshine wherever it goes!
Happy Crocheting,
— Anita Louise 🧶